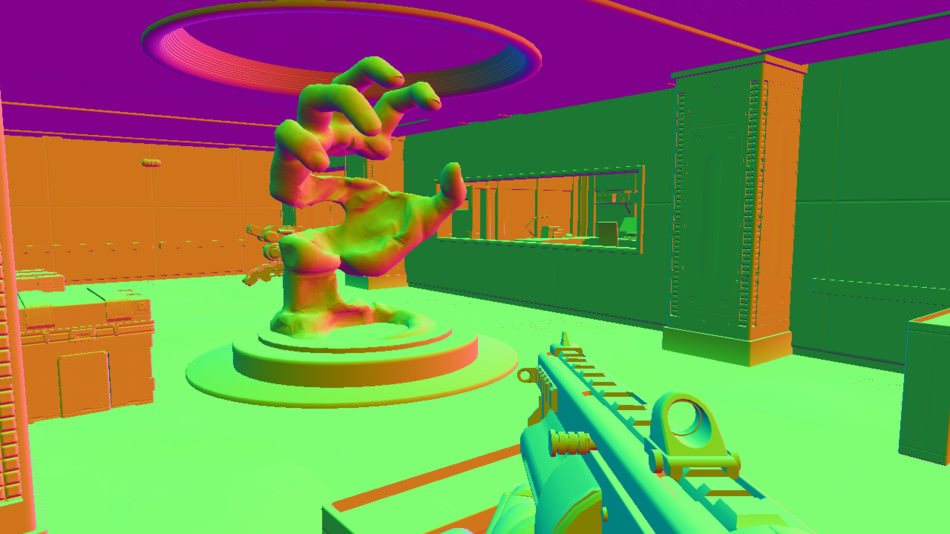
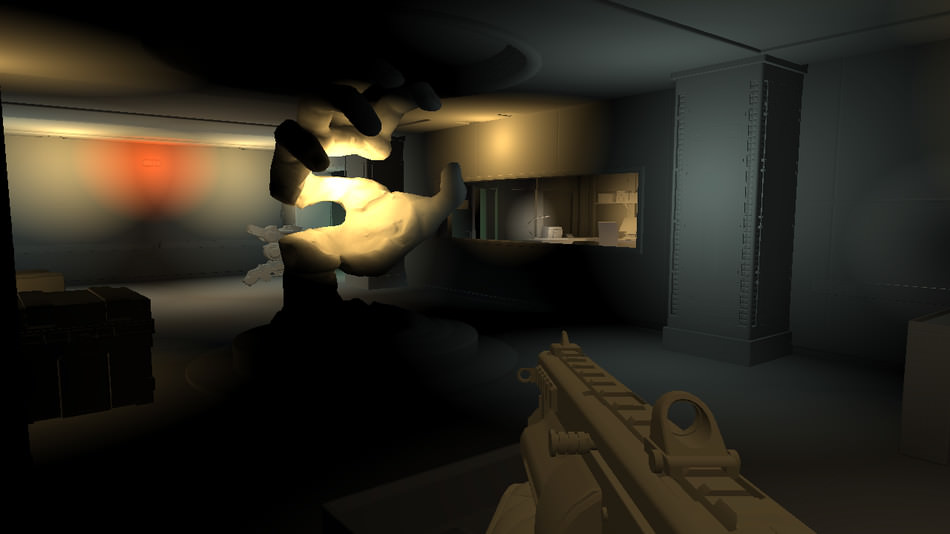
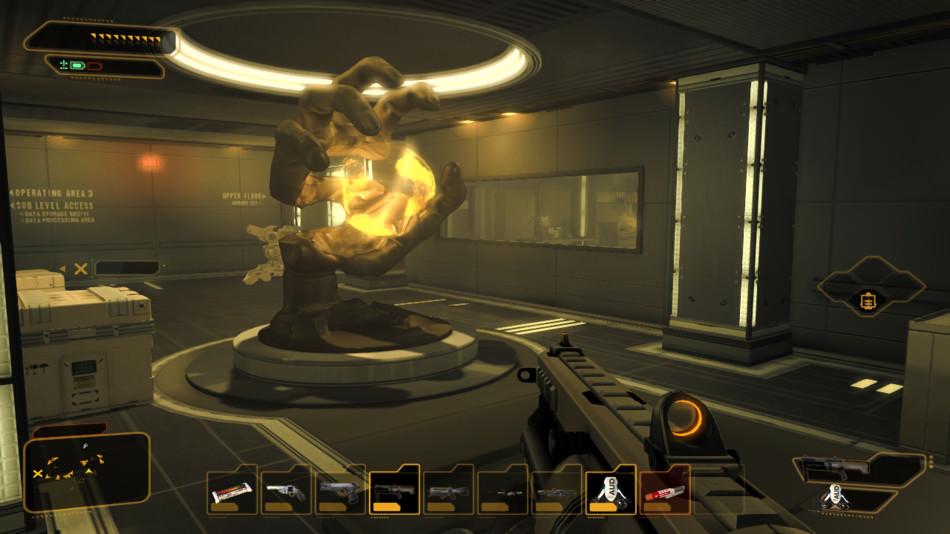
Starting from a given frame, he illustrates the different stages in the rendering: creation of the G buffer, shadow map, ambient occlusion, light prepass, how opaque and transparent objects are treated differently, volumetric lights, bloom effect in LDR, anti-aliasing and color correction, the depth of field, and finally the object interaction visual feedback.
Here are a few screenshots stolen from his article:
Revision 2015 took place last month, on the Easter weekend as usual. I was lucky enough to attend and experience the great competitions that took place this year; I can’t recommend you enough to check all the good stuff that came out of it.
Like the previous times I shared some insights in a seminar, as an opportunity to practice public talking. Since our post-processing have quite improved with our last demo (Ctrl-Alt-Test : G – Level One), the topic was the implementation of a few post-processing effects in a real-time renderer: glow, lens flare, light streak, motion blur…
Having been fairly busy over the last months though, with work and the organising of Tokyo Demo Fest among others, I couldn’t afford as much time as I wanted to spend on the presentation unfortunately. An hour before the presentation I was still working on the slides, but all in all it went better than expected. I also experimented with doing a live demonstration, hopefully more engaging than some screenshots or even a video capture can be.
Here is the video recording made by the team at Revision (kudos to you guys for the fantastic work this year). I will provide the slides later on, after I properly finish the credits and references part.
Abstract:
Over decades photographers, then filmmakers, have learned to take advantage of optical phenomenons, and perfected the recipe of chemicals used in films, to affect the visual appeal of their images. Transposed to rendering, those lessons can make your image more pleasant to the eye, change its realism, affect its mood, or make it easier to read. In this course we will present different effects that can be implemented in a real-time rendering pipeline, the theory behind them, the implementation details in practice, and how they could fit in your workflow.